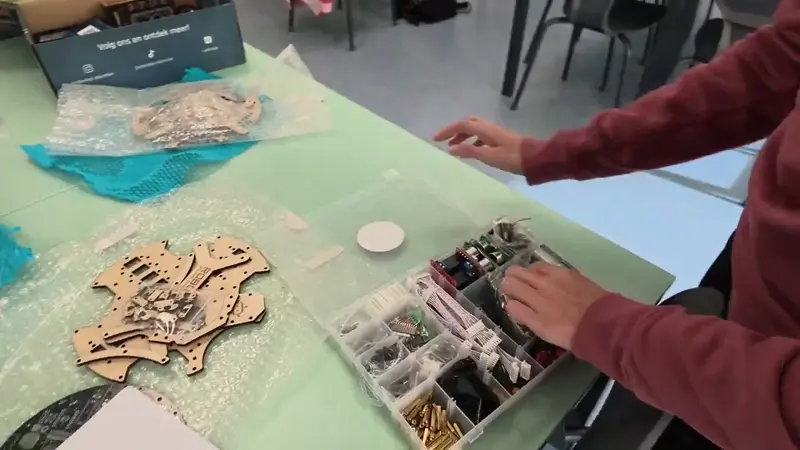
 The physical kit
01 / Materials
From organiser to robot
500+ parts to build a CyberStriker. The organiser keeps components neatly arranged while you work.
Explore the kit contents ↗CyberStriker Quadro · RoboClass
At home, at school or with your club: build and programme your own CyberStriker. Step by step, you work towards an autonomous football robot that plays independently using sensors and your code.
For students, parents, robotics clubs and teachers. The online lessons and assembly instructions are designed for independent learning, with minimal, optional guidance.
Tested in the classroom
A working basic robot
in around two months.
What you get
The physical kit and online resources complement each other. Explore the lessons and assembly instructions to see what you will build and how you can get started independently.
The physical kit01 / Materials
500+ parts to build a CyberStriker. The organiser keeps components neatly arranged while you work.
Explore the kit contents ↗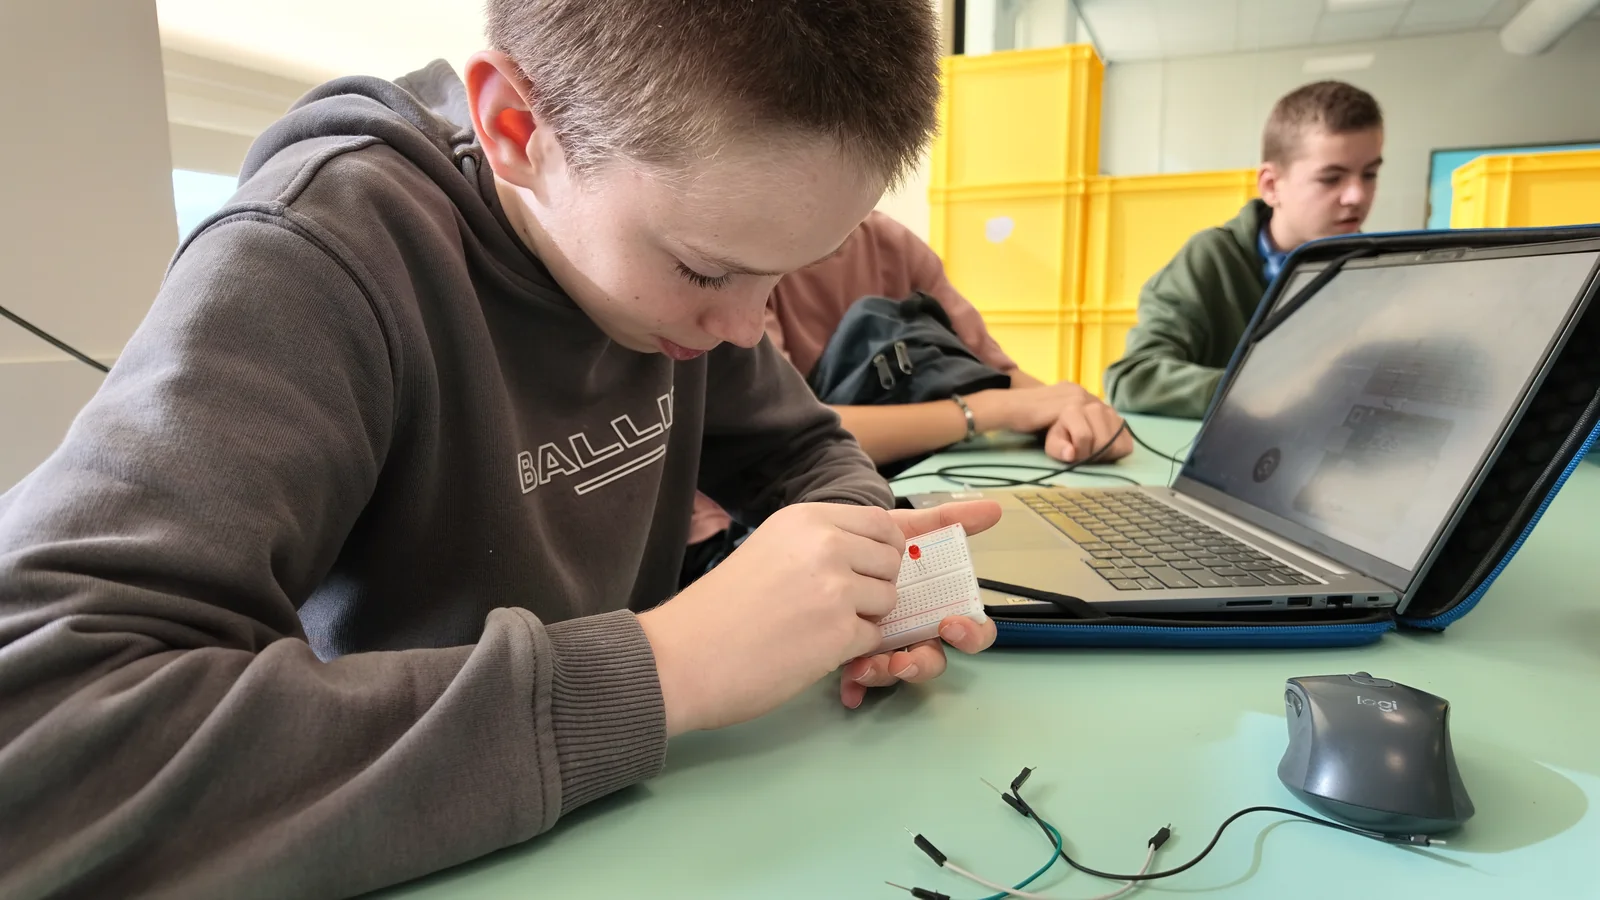 Free online course
02 / Learning
The lessons guide you through building and programming. Follow the explanations on your laptop and apply them directly to your own robot.
Explore the free lessons ↗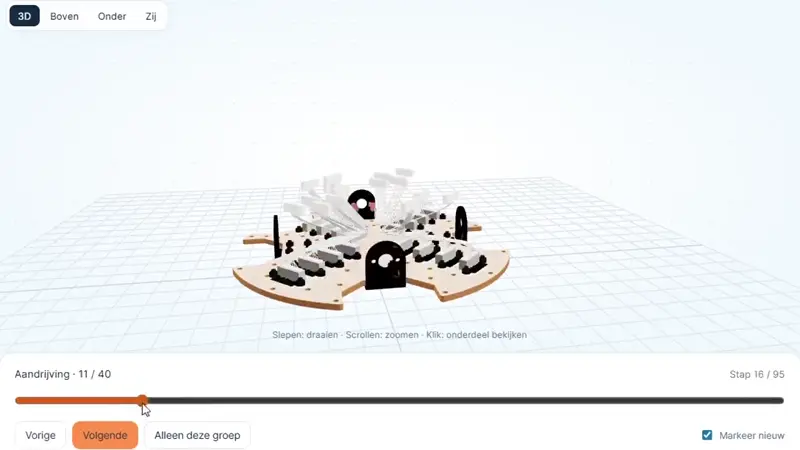 Interactive assembly instructions
03 / Assembly
Rotate the 3D model and explore each assembly stage in the Assembly Lab. See exactly where every component belongs.
Open the Assembly Lab ↗Coming soon · RoboClass Store
A dedicated home for the CyberStriker Quadro: soon you will be able to explore the kit, view its contents and order directly through the new RoboClass webshop.
From unboxing to robot football
See the kit, lessons and building process in practice. Choose a moment in the video to see how students get started.
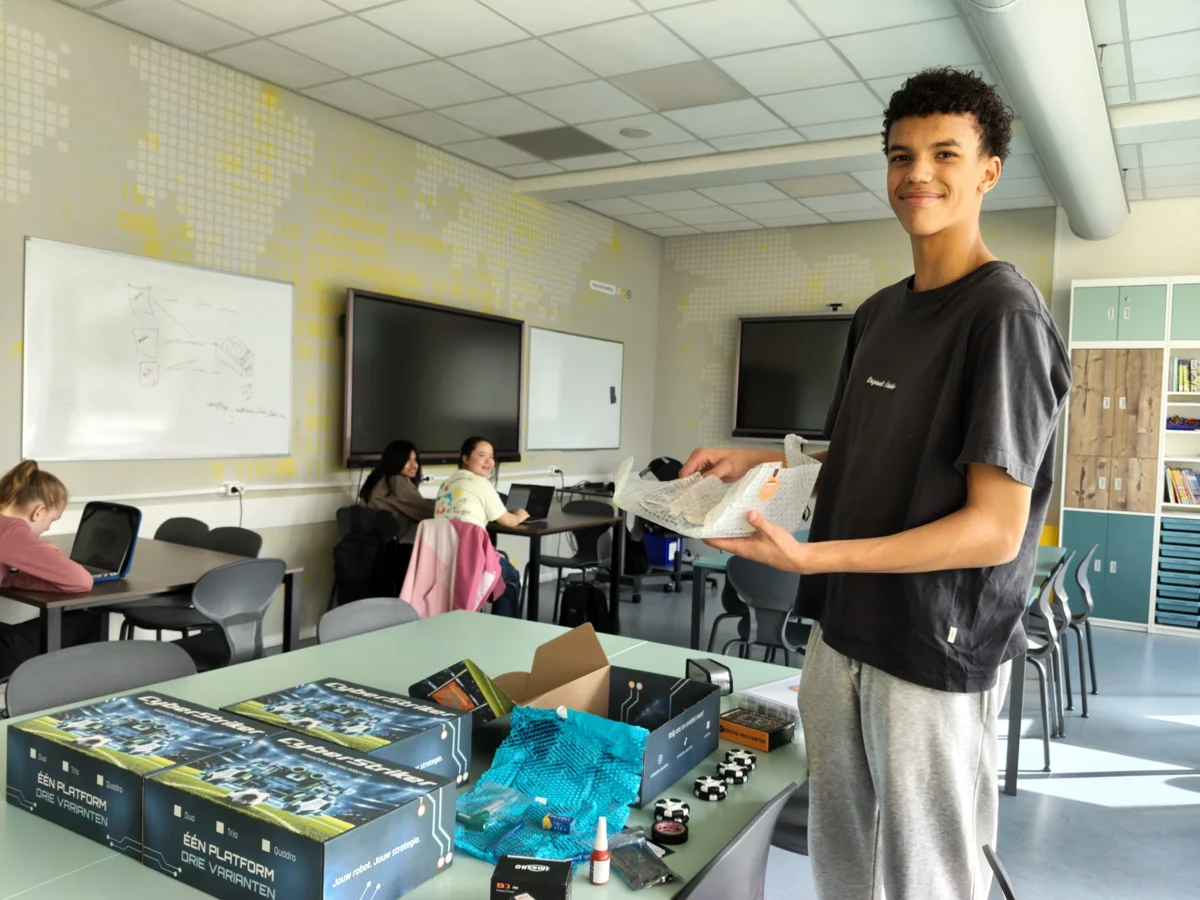
Learning by doing
Find a component yourself, check the next assembly step and discover how things work by trying them out.
The online lessons and Assembly Lab provide guidance you can return to whenever you need it. You build and programme the robot yourself, individually or with other students. Guidance is optional and can be limited to occasional advice or discussing a question. You do not need a supervisor beside you at every step.
Build your basic robotGet to know the components and make your robot work.
Develop your own strategyProgramme how your robot responds and plays independently.
Keep developing your skillsTest, discover and improve: CyberStriker grows with your abilities.
The goal of the learning journey
You work towards an autonomous football robot: one that takes to the field without a remote control. Sensors provide information about its surroundings; your programme determines how the robot responds. You develop the strategy, and the robot carries it out independently.
Learn to use sensor readings, for example to determine where the infrared ball is.
Turn your ideas into code: when should the robot search for the ball, and when should it move towards it?
Make the robot move independently, test its behaviour and improve your programme based on what happens on the field.
You develop this behaviour throughout the learning journey by building and programming it yourself. As you learn more, you can create increasingly sophisticated playing strategies.
For home, school & club
The lessons and assembly instructions help you get started independently. Explore them beforehand and decide for yourself whether you would like guidance at certain points.
At home
As a student, you build and programme your own robot using the online guidance. As a parent, you do not need to watch over every step. You can help with a question or discuss the instructions together if needed. Adjust any supervision during soldering to the learner's age and experience.
At your club
Build, programme and test during your club sessions. Use the online guidance to work independently. A club leader can offer occasional advice when needed.
At school
Connect the assembly steps to your lessons. CyberStriker is not limited to Dutch havo or vwo education. Adapt the explanations, pace and guidance to your students. The pilot below provides one example from practice.
Lessons from the pilot
During the pilot at Lyceum Kralingen in Rotterdam, third-year havo and vwo students built a working basic robot in around two months. They spent an average of four hours per week on the course. They then developed their robots further with strategies they had devised themselves.
Teams of two or three students per kit worked best in this pilot, keeping everyone actively involved in building and learning.
The group was guided by a first-year student on an English teacher-training programme.
One CyberStriker is enough to get started. Working together? In the pilot, two or three students per kit worked best.
You can follow the instructions on either device. You will need a laptop for programming.
You will need soldering equipment for the soldering tasks. A starter kit is available in the RoboClass webshop.
Explore the products ↗To have two robots play against each other, you need two CyberStrikers and an infrared ball.
Stuck or have a question? Visit the RoboClass community ↗.
From the classroom to competition
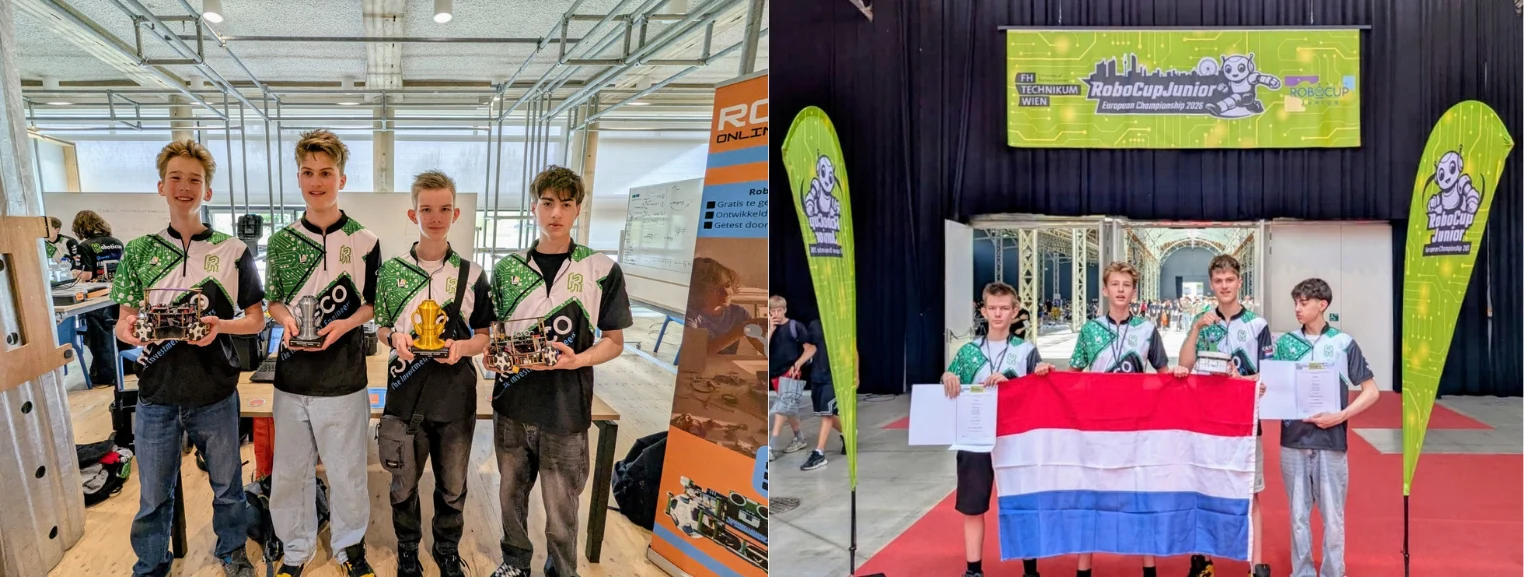
The Lyceum Kralingen pilot group won the Dutch RoboCupJunior Championship. The students then represented the Netherlands at the European Championship, where they won two awards.
You can start independently with one kit. For teamwork, we recommend two or three students per kit. This worked best during the pilot to keep everyone actively involved. In larger teams, we saw some students become less involved and miss out on parts of the learning process.
No. CyberStriker is a learning journey, not a plug-and-play robot. You build and programme it yourself, developing robotics skills in a playful way. You devise, test and improve your own solutions. What your robot can ultimately do grows with your skills and ideas.
Planning to take part in RoboCupJunior? We recommend borrowing or buying an infrared ball through the Dutch RoboCupJunior organisation. If you are not entering RoboCupJunior, RoboClass can also provide alternative balls.
One robot is enough to start building. To have two robots play against each other at the same time, you need two CyberStrikers and an infrared ball.
You can find prices for the robot kit and additional products in the RoboClass webshop. We aim to keep the basic kit as affordable as possible without compromising component quality. Also allow for a laptop for programming, soldering equipment and, if needed, an infrared ball.
You can ask questions in the RoboClass community. Describe what you are trying to do, what happens and what you have already tried. Others can then help you think it through while you continue building and programming yourself.
No. CyberStriker is designed for independent work using the online lessons and interactive assembly instructions. Guidance is optional and can be minimal, such as discussing a question from time to time. How much support is helpful varies by student and depends on age and experience.
No. CyberStriker is also intended for students in other educational pathways, including Dutch vmbo and mbo vocational education, and for learners at home or in a club. Explore the lessons and assembly steps to adapt the pace and guidance to prior knowledge and experience. The havo/vwo group mentioned is an example from the pilot.
No. You can explore the free online course and Assembly Lab first. This gives you an idea of the content and assembly steps before you make a decision.
Yes. You can use the kit, online lessons and assembly instructions outside school too. The lessons and instructions support independent learning. Students build and programme the robot themselves; guidance from a parent or club leader is optional.
We deliberately wrote the course in English. English plays a major role in robotics: it is used in programming environments, technical documentation and international collaboration. By practising it as they learn, students develop language skills and technical vocabulary that will be valuable in their future work in robotics.
Prefer to read the instructions in Dutch or another language? Your web browser's translation feature can translate the course page into a language it supports, so you can follow the explanations in the language that suits you.
That depends on your experience, pace and how much time you spend on it. In the pilot, the basic robot was working after around two months, with an average of four hours per week. That is a starting point, not an endpoint.
CyberStriker grows with the learner. Once the basic robot works, you can keep programming, experimenting with sensors and improving its behaviour. Every new skill opens up new challenges. The learning journey offers room for continuous growth, without a fixed endpoint.
The next step
At home, with your club or in the classroom: explore the free lessons and discover what you will build with CyberStriker.